Living near the beach has quietly changed the way I decorate and the way I spend money. I used to think a room needed new things to feel fresh, but the coast has taught me the opposite.
The ocean never looks brand new, yet it always looks beautiful, and that steady mix of worn wood, soft colors, and calm texture keeps showing up in my home little by little.
Two days ago, I woke up and looked at one blank wall in my living room, and I knew I wanted something that felt like a beach breath, not a loud theme, not a pile of shells, but a gentle reminder of water, light, and weathered time.
That morning, I decided to build a shelf using only found materials, because budget-friendly projects feel the most like me, and they also keep my creativity sharp in a way buying something new never does.
The Flea Market Trip That Started the Whole Idea

I drove to Georgetown Flea Market in Seattle, Washington, because it is one of those places where you can find the most unexpected treasures if you arrive early and stay patient.
It took me about 30 to 35 minutes from my place, depending on traffic, and I purposely left in the late morning because I wanted to go slowly, sip coffee, and let the day feel open instead of rushed.
The market already felt alive when I arrived. Vendors were setting out crates, folding tables, and racks of old objects with quiet confidence, like they had done this for years.
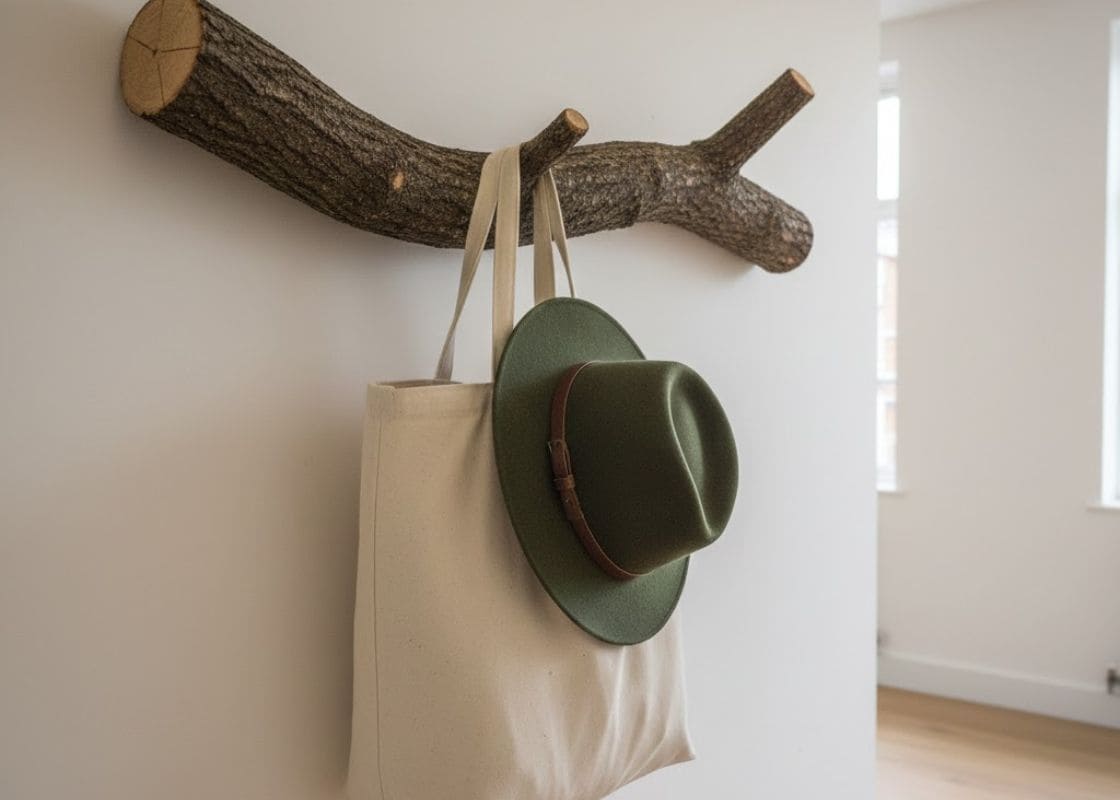
The air had that familiar mix of fresh pastries, cardboard boxes, and sun-warmed wood, and there was a friendly, casual energy from people strolling with tote bags, pausing to inspect old furniture, then moving on without stress.
I wandered through the rows without a shopping list. That is usually how I find the best things, because when I search too hard, I miss what is right in front of me.
The Small Old Boat That Made Me Stop Walking
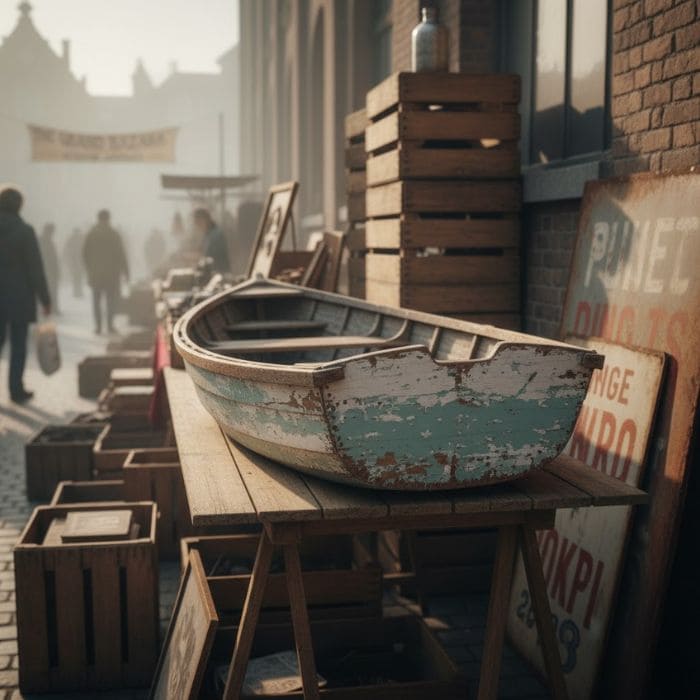
Near the back of the market, tucked between stacked wooden crates and a few rusted metal signs, I saw a small old wooden boat sitting low on a table.
At first I thought it was just a decorative display piece, but when I stepped closer, I realized it had real weight and real age to it.
The boat was about 22 to 26 inches long, with a shallow body and slightly raised ends. The paint was chipped in the most beautiful way, with layers of faded white and pale ocean-blue showing through like memories.
The wood had a dry, salt-worn look, smooth in spots where hands had touched it over time, and rougher along the edges where it had been bumped and worn down.
When I ran my fingers along the side, I could feel tiny grooves and shallow cracks, not dangerous, just honest.
I stood there longer than I meant to because my brain was already building something.
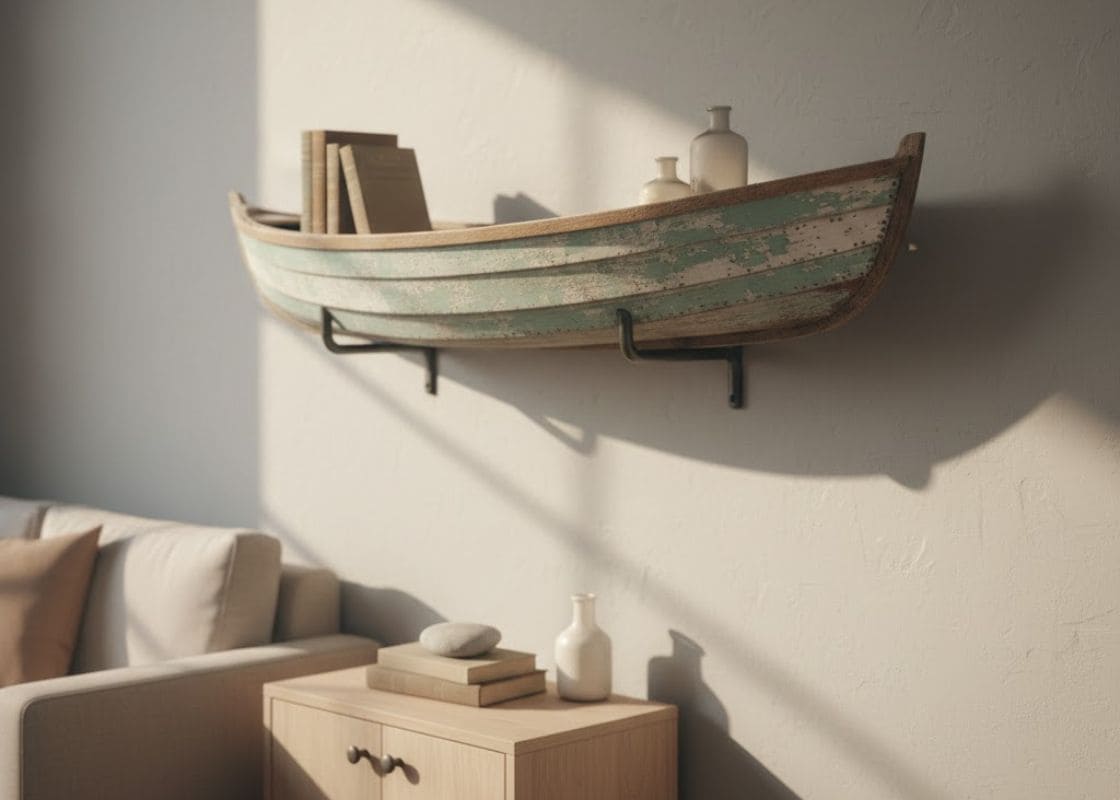
I could see the boat mounted on a wall, floating horizontally like a shelf, holding small books, a candle, a tiny plant, and maybe one piece of sea glass catching light.
The Seller, the Conversation, and the Price
The seller was an older man wearing a faded navy cap and a gray sweatshirt that looked like it had been washed a hundred times in the best way.
He had the relaxed, grounded energy that many Washington locals carry, like they never need to prove anything.
When he noticed me studying the boat, he leaned slightly forward and said, almost like he was sharing a secret, “That one’s been waiting for the right person.”
I laughed because it felt true. I asked, “How much are you asking for it?”
He glanced at it, then back at me, like he was deciding what felt fair. “Twenty-eight,” he said. “If you’re actually going to use it and not just toss it in a garage, I’ll do twenty-five.”
I paid $25, thanked him, and carried it carefully to my car like it was more fragile than it really was.
Bringing It Home and Letting the Idea Settle
When I got home, I set the boat on my living room floor and stepped back to look at it against the wall. I did not touch my tools right away.
I have learned that the best projects start with a little quiet. I wanted to see how the boat wanted to sit, where it looked most natural, and what kind of shelf it wanted to become.
My living room is mostly white, with soft light and simple furniture, so the faded blue-and-white boat looked like a calm accent instead of clutter.
I could already imagine it holding a few things, not too many, because the boat itself already had enough presence.
What I Used, and What I Refused to Buy
I stayed true to my rule, which was to use only found materials and things I already had at home, aside from the boat itself.
I went to my little storage closet where I keep the leftovers from past DIY projects, and it felt like shopping without spending money. I found a pair of sturdy L-brackets, a small jar of screws, wall anchors, a level, and a drill.
I also found a tiny pot of clear sealant left from another project, and that felt perfect because I wanted to protect the wood without changing the color.
The only thing I did not already have was the correct wall anchors for my wall type, and I did not want to take shortcuts there.
I stopped by a small hardware section nearby and grabbed a pack, because a shelf needs to feel safe, not risky.
Prepping the Boat Without Losing Its Character
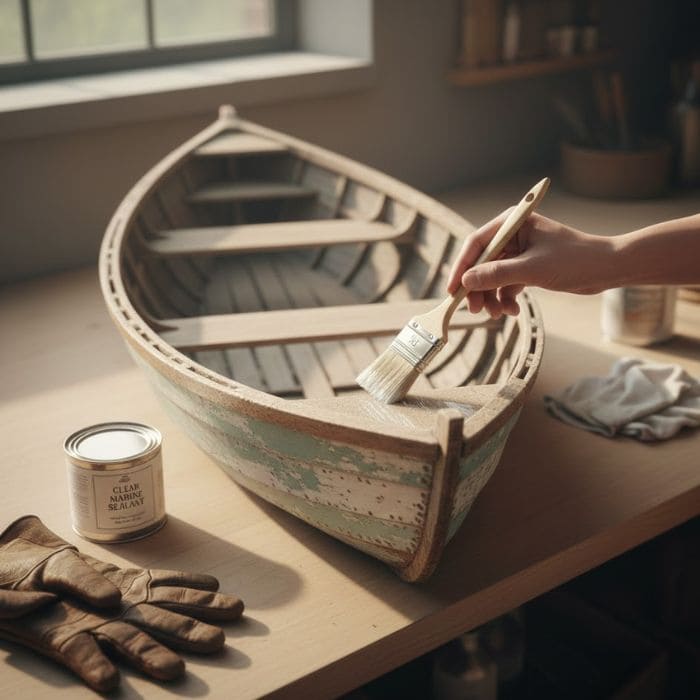
Before mounting anything, I cleaned the boat gently. I used a dry cloth first, then a slightly damp cloth for stubborn dust, and I let it dry completely.
I did not sand it heavily because I wanted to keep the weathered paint. Instead, I lightly smoothed one rough edge where I knew my hand might brush against it later, and that was enough.
Then I brushed on a thin layer of clear sealant, not thick, not glossy, just enough to protect the surface and make it easier to dust later. Then I let it dry while I planned the mounting.
Step by Step Turning the Boat Into a Shelf
I started by choosing the wall spot. I wanted it to feel like a calm focal point, so I placed it above a small cabinet near my sofa where the wall looked empty but not crowded.
I held the boat up at different heights, stepping back each time to see what felt balanced. Eventually, I chose a height that was easy to reach without feeling low, and I marked that line lightly with pencil.
Next, I measured the bottom of the boat to find two stable points where the brackets could support it without wobbling.
Because the boat was not perfectly straight, I learned quickly that measuring alone would not solve everything, and I needed to test it physically. I placed the brackets under the boat while it rested on the floor and adjusted until it felt naturally supported.
Once I found the best bracket positions, I measured the distance between them, transferred that spacing to the wall, and marked the exact points.
I used a level to make sure the bracket marks were straight, because even a small tilt can make a shelf look off in a quiet room.
After marking, I drilled pilot holes, inserted wall anchors, and screwed the brackets into place firmly. I checked each bracket by pulling gently, not aggressively, just enough to confirm the anchors were secure.
Then came the interesting part. I lifted the boat and rested it on the brackets, and for a moment, it looked slightly uneven because the bottom curve of the boat was not flat like a normal shelf.
I paused and adjusted the boat’s position, shifting it millimeters at a time until it looked intentional rather than accidental. The small imperfection remained, but it looked natural, like something shaped by water, and that was exactly what I wanted.
To secure it, I drilled small guide holes through the bracket holes into the boat, then screwed it in gently.
I did not over-tighten, because older wood can crack if you force it. I tightened just enough that it felt stable, then tested the shelf by placing light items one by one.
First I tried a small book, then removed it, then tried again with two books. Then I placed a candle. Then I added a small plant. Each time, I watched for wobbling, listened for creaks, and checked the brackets again.
When everything felt steady, my shoulders finally relaxed, and I knew the shelf was truly done.
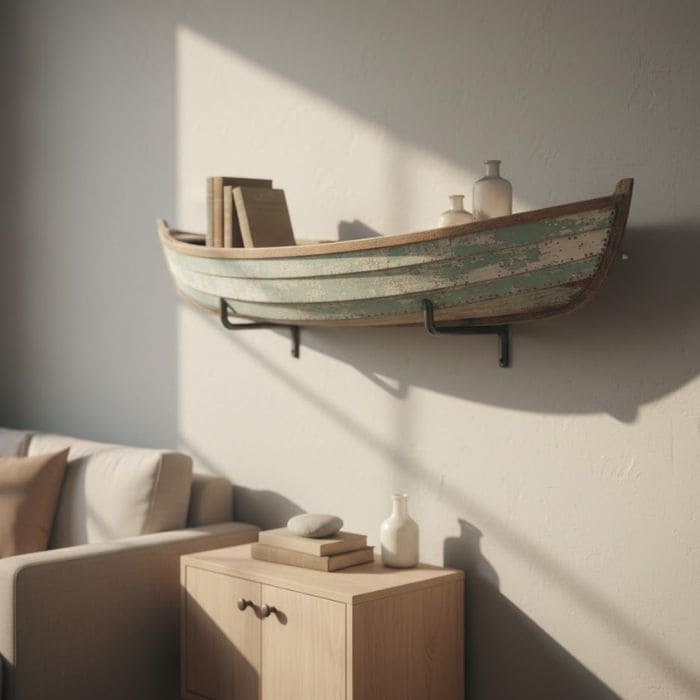
Styling It Like the Beach, Not Like a Costume
I placed two neutral books on one side, a small ceramic vase in a soft seafoam shade in the middle, and a short piece of driftwood along the edge like a quiet nod to my morning walks.
I avoided filling it too much, because coastal style feels best when it has breathing room.
When the afternoon light hit the wall, the faded blue paint looked softer, almost like it was blending into the room rather than sitting on top of it. That was the moment it truly felt like beach breath, calm, airy, and real.