When I moved in, the walls were not bad, but they were far from new. The paint had been rolled over too many times, corners showed faint cracks, and there were patches where light revealed uneven texture no matter how clean the room was.
At first, I tried to ignore it, telling myself furniture and art would do the work, but walls have a way of quietly shaping how a room feels whether you acknowledge them or not.
Repainting everything was not realistic. It was a rental, and my budget was already stretched thin from setting up the rest of the house.
That was when peel-and-stick stopped feeling like a shortcut and started feeling like a practical decision.
Why I Didn’t Trust Peel-and-Stick at First
I want to be honest here. I did not trust peel-and-stick when I first thought about using it.
I had seen beautiful photos online, but I had also seen corners lifting, patterns misaligned, and walls that somehow looked worse than before. With walls that already showed their age, I worried I would only make the problems louder.
Still, doing nothing felt worse than trying carefully. So I decided to approach it slowly, treating peel-and-stick not as a full makeover, but as an experiment.
Lesson One: Old Walls Need Calm Before They Need Coverage
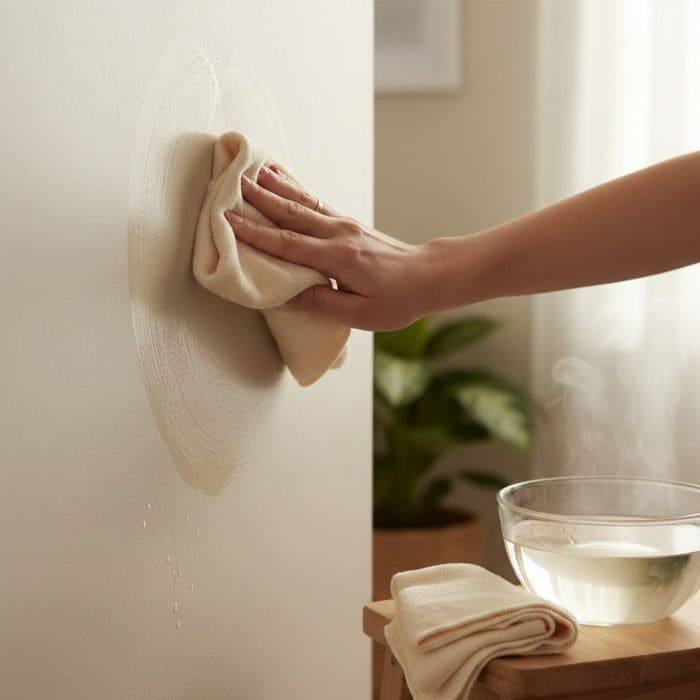
This was the step I underestimated the most, and the one that made the biggest difference. Even when walls look clean, older paint holds a fine layer of dust, residue, and chalkiness that you cannot always see.
I noticed this especially near light switches, corners, and along the baseboards, places that collect invisible buildup over time.
Before applying anything, I wiped the wall gently with warm water and a soft cloth, moving slowly and evenly.
I did not scrub hard, because older paint can lift or become patchy if you are too aggressive. After cleaning, I let the wall dry completely, not just to the touch, but fully settled.
Things I kept reminding myself during this step were simple but important:
- a calm surface holds better than a rushed one
- dryness matters more than speed
- preparation is cheaper than fixing mistakes later
Once the wall felt neutral again, not dusty and not damp, everything that followed worked better.
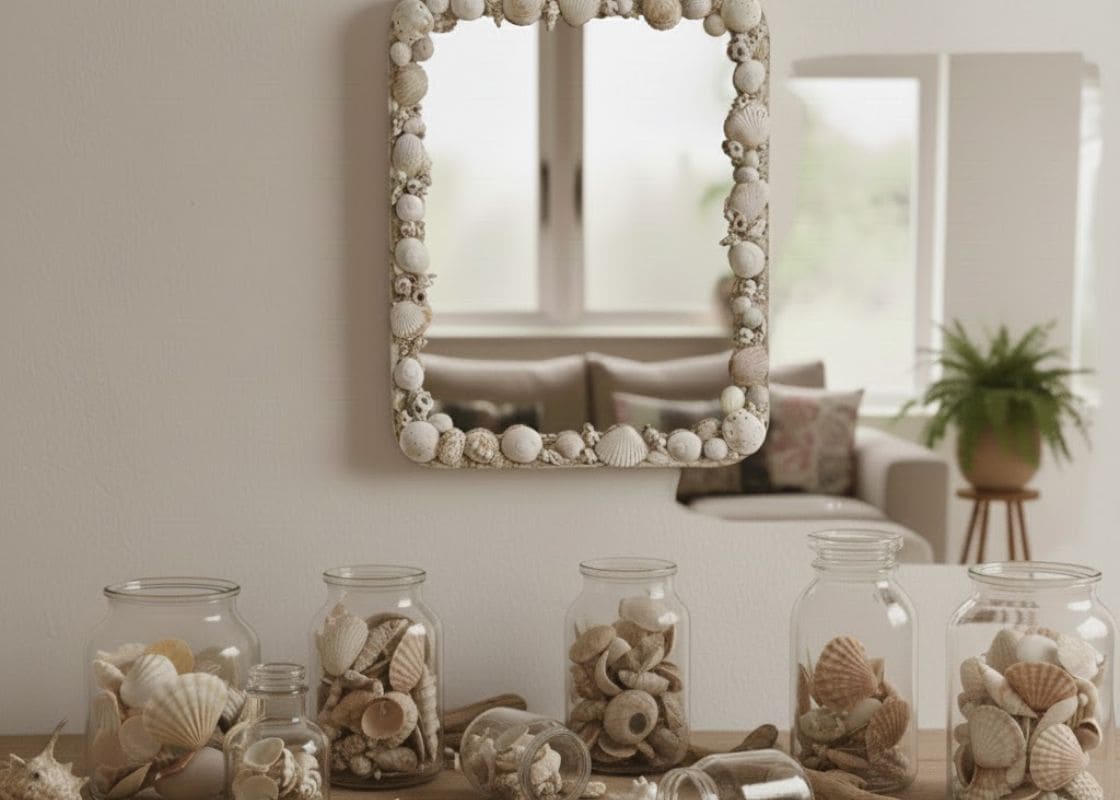
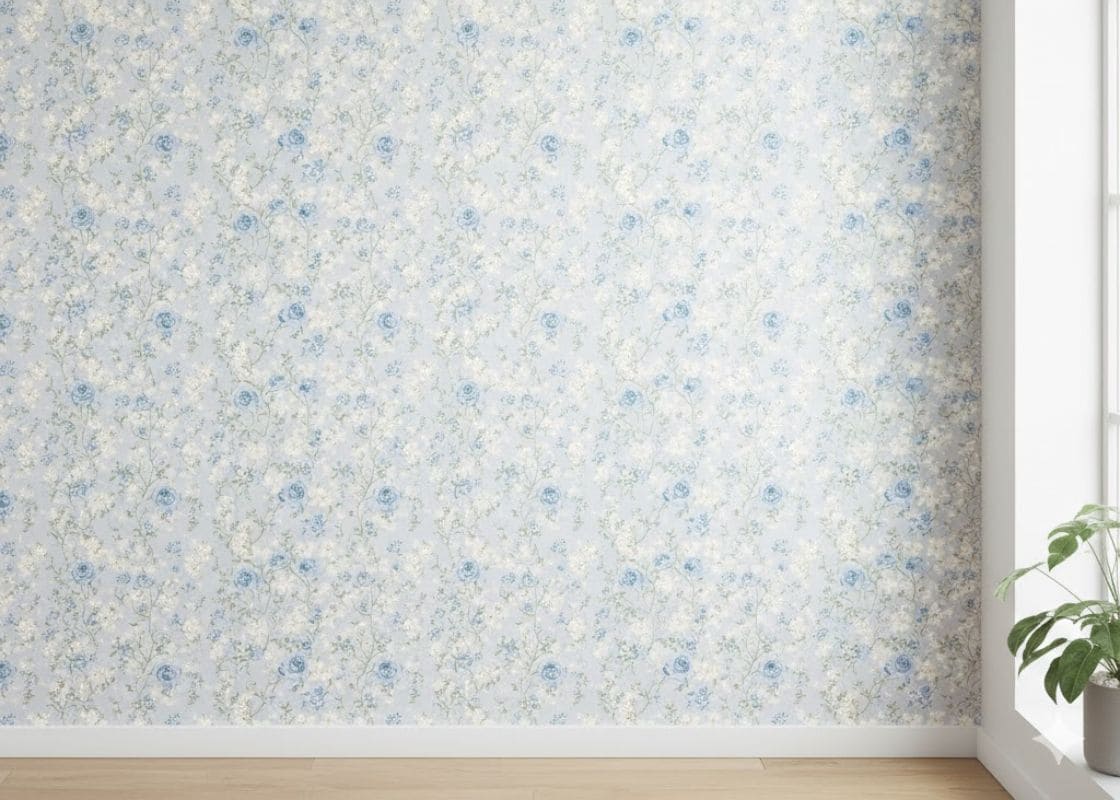
Lesson Two: Pattern Choice Can Either Hide or Expose Everything
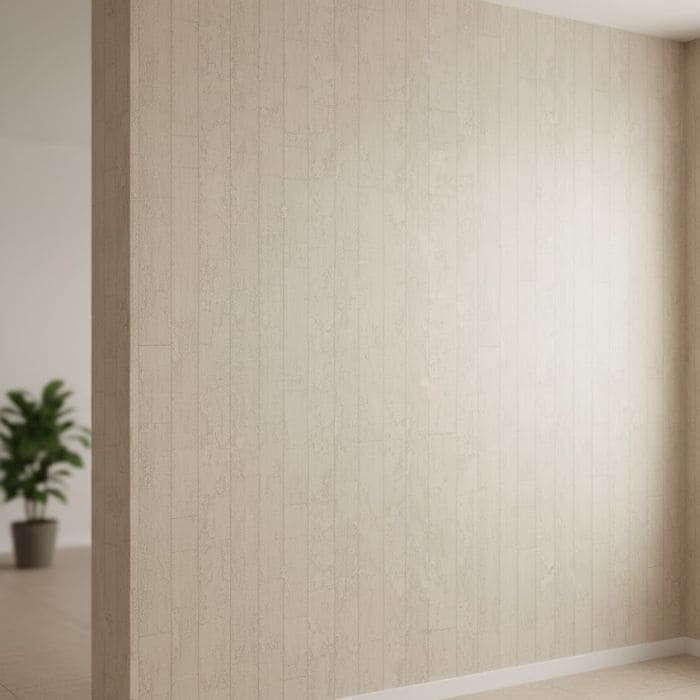
This lesson changed the direction of my entire project. My first instinct was to choose bold patterns, because they looked exciting and full of personality.
But when I held a sample against my wall, I immediately saw how every uneven patch suddenly stood out. The pattern did not distract from the wall. It framed its flaws.
I switched to softer textures instead, designs that mimicked linen, light plaster, washed wood, or subtle stone. These patterns did not demand attention. They blended into the wall and softened it naturally.
A moment that convinced me completely happened behind a sideboard in my living room.
I tested two samples side by side. One was bold and graphic, the other quiet and textured. The bold one made me tense while the subtle one made me exhale.
Lesson Three: Starting From the Middle Gave Me Freedom
I learned this lesson the hard way. The first time, I started from a corner because that felt logical.
Halfway across the wall, I realized the wall was not straight, and every tiny misalignment added up. By the time I reached the end, the pattern felt forced, and no amount of trimming could fix it.
The next time, I started from the visual center of the wall. That one change made everything easier.
Small shifts disappeared naturally toward the edges, where trimming already happens and where the eye expects variation.
Starting from the middle gave me room to adjust, breathe, and correct without panic. From that moment on, I never started from a corner again.
Lesson Four: Going Slowly Actually Saved Time
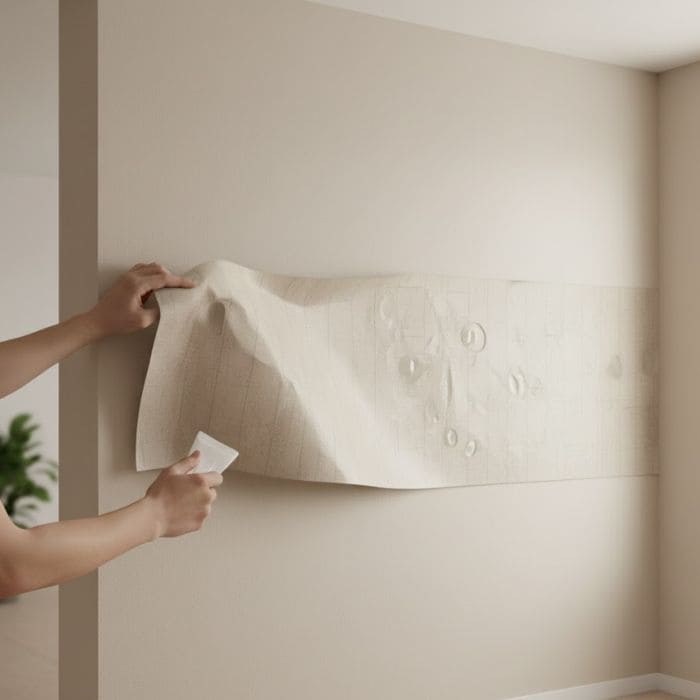
Peel-and-stick looks simple until you rush it. The first time I peeled too much backing at once, the material pulled slightly off line, and bubbles appeared where I did not expect them. I stopped, lifted it gently, and tried again with a slower approach.
What worked was peeling only a few inches at a time, smoothing as I went, and letting my hands guide the material instead of forcing it into place. When bubbles appeared, I paused instead of pushing harder.
Based on my experience, peel-and-stick forgives patience but remembers rushing.
Lesson Five: Starting Small Built My Confidence
I did not begin with a full wall. I chose a small section behind a sideboard where mistakes would not feel dramatic.
That first area taught me how the adhesive behaved on my specific walls, how much pressure was enough, and how forgiving the material actually was.
After that success, I used peel-and-stick in places I had not planned, the backs of open shelves, a narrow wall near the entry, even a shallow niche that had always felt unfinished.
Each small application added depth and intention without overwhelming the room or my budget.
Lesson Six: Perfection Is Not the Goal in an Old Home
Once everything was applied, I noticed small uneven edges near the floor and trim. At first, I felt tempted to keep adjusting, but then I stepped back and let the room settle.
Furniture softened the lines, decor drew the eye upward and light changed everything throughout the day.
I realized that chasing perfection would only make the space feel tense. Letting small imperfections exist made the room feel lived in and calm.
Lesson Seven: Lifted Corners Are Part of the Process
A few corners lifted slightly after a couple of days, especially where the wall texture was heavier. Instead of panicking, I pressed them back gently and let the adhesive settle over time.
I avoided adding extra glue or tape unless absolutely necessary. Most of the time, patience solved the problem. Peel-and-stick often needs a settling period, especially on older walls.
Why Peel-and-Stick Truly Saved My Budget
Yes, it saved money, but it also saved energy, time, and emotional space. I avoided paint, tools, and the pressure of permanence. I could make changes slowly, one section at a time, without feeling trapped by a decision.
For me, peel-and-stick was not about shortcuts. It was about choosing a solution that respected my walls, my budget, and the way I actually live.